Is it possible to capture scrolling window in Windows 11? Sure, it is. Zak, the editor of TechiSky encountered the same issue as he needed to take a scrolling screenshot in Windows 11. It is not a page when you can take scrolling page via Firefox or Google Chrome. It is a long chat that was all needed to be captured. It took almost a whole day until Zak found the right Screen Capture for Windows 11. Zak will share the tool in the following.
- Part 1: Introduces the Screen Capture for Windows 11
- Part 2: How to capture scrolling window in Windows 11
Introduces the Screen Capture for Windows 11
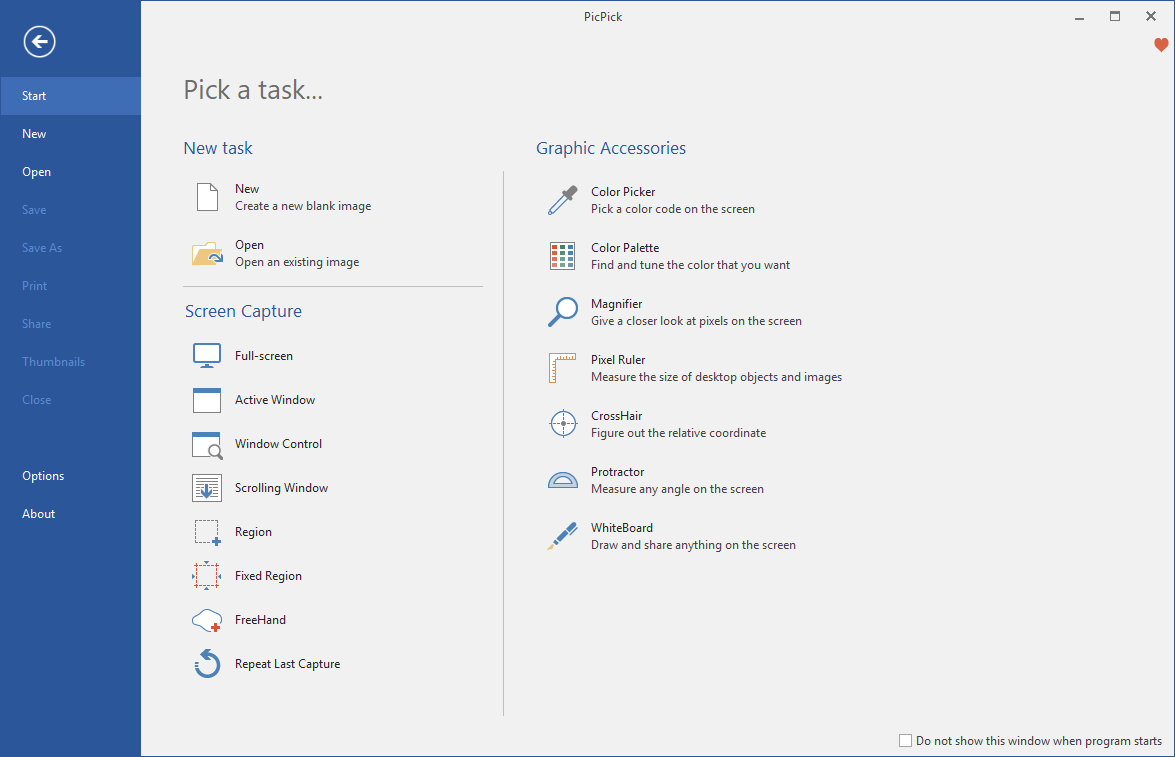
PicPick is a free Screen Capture for Windows 11. It can take screenshots of an entire screen, an active window, the scrolling windows and any specific region of your desktop, etc. It supports multiple monitor environments, capturing with cursor, auto save and file naming, etc. as well as supports the floating widget Capture Bar which makes it easy for you to take screenshots. It allows you to customize your own keyboard shortcuts.
Besides screen capture, it can also annotate and highlight your images: text, arrows, shapes and more with the built-in image editor that includes the latest Ribbon style menu. Easily add effects to your images: drop shadows, frames, watermarks, mosaic, motion blur, brightness control and more.
Part 2: How to capture scrolling window in Windows 11
Step 1: Download Screen Capture for Windows 11
Download Screen Capture for Windows 11 – PicPick. Install and launch the program.
Step 2: Open all the windows you want to capture scrolling window.
PicPick supports capturing several scrolling windows at a time into an image. Just open all the windows you want to capture.
Step 3: Capture scrolling window in Windows 11
- Open PicPick.
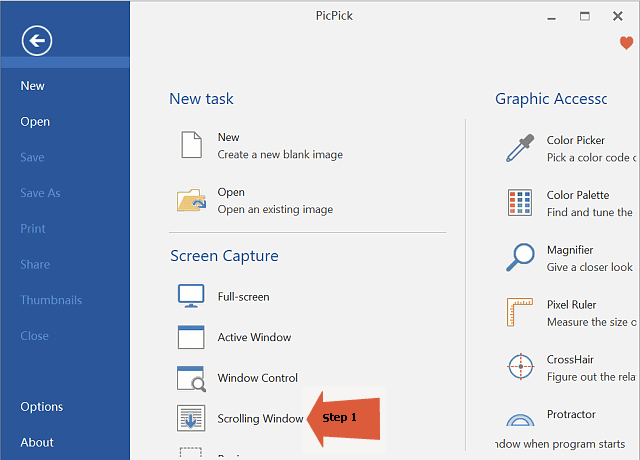
- In the main window of PicPick, click on “Scrolling Window” .
- Then open the first window which you want to take scrolling picture in.
- Move the mouse to the area that you want to take and the area will be highlighted.
- Right click on the mouse to start capture scrolling window in Windows. Picpick will auto scroll down to start take scrolling windows.
- If you take more than one window, before PicPick finishing capturing the first window, open the second window to start capturing.
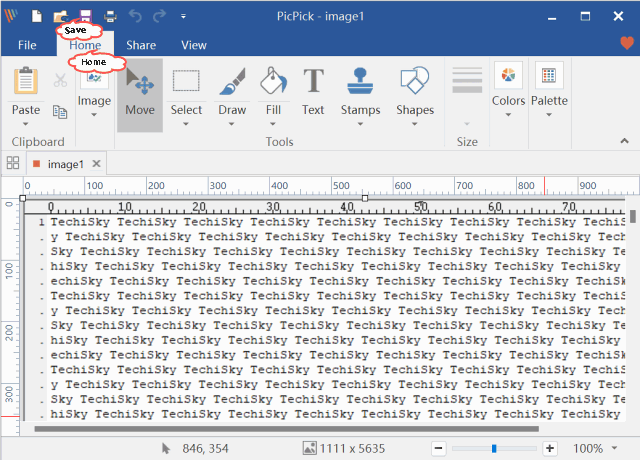
- When finished, PicPick will open the file in the image editor where you can edit the scrolling picture.
- Click on “Save” Button or Ctr+S to save the scrolling picture.
- To take another scrolling window, click on “Home” to return to the PicPick main window.
Related Articles
How to Capture Scrolling Window in Windows 11?